Create your own maps and mods!
You can now download the WW2FPS SDK which allows you to create your own maps and mods using Unreal Editor. Just download the SDK and have a look at the included readme.txt file to get started.

Here are the contents of the readme.txt:
Adapted from https://nerivec.github.io/old-ue4-wiki/pages/modding-adding-mod-support-to-your-...
Get the mod SDK
1. Dowload the mod SDK from https://desertfoxdev.itch.io/longestfront (if you don't have it already) and extract the zip file.
Getting Unreal engine
1. Install the required Unreal Engine version for your mod SDK https://www.unrealengine.com/en-US. (The version number should be in the SDK zip file name e.g. 5.5)
2. If you haven't used Unreal Engine before I would recommend having a look at this tutorial:
Adding a new mod
1. In the SDK folder double click Longestfront.uproject to open it with Unreal Editor.
2. In Unreal Editor click on Edit->Plugins
3. Click "Add"
4. Choose "Content Only"
5. Add a name for your plugin (this will be the name of your mod e.g. "TestMod")
Adding a map
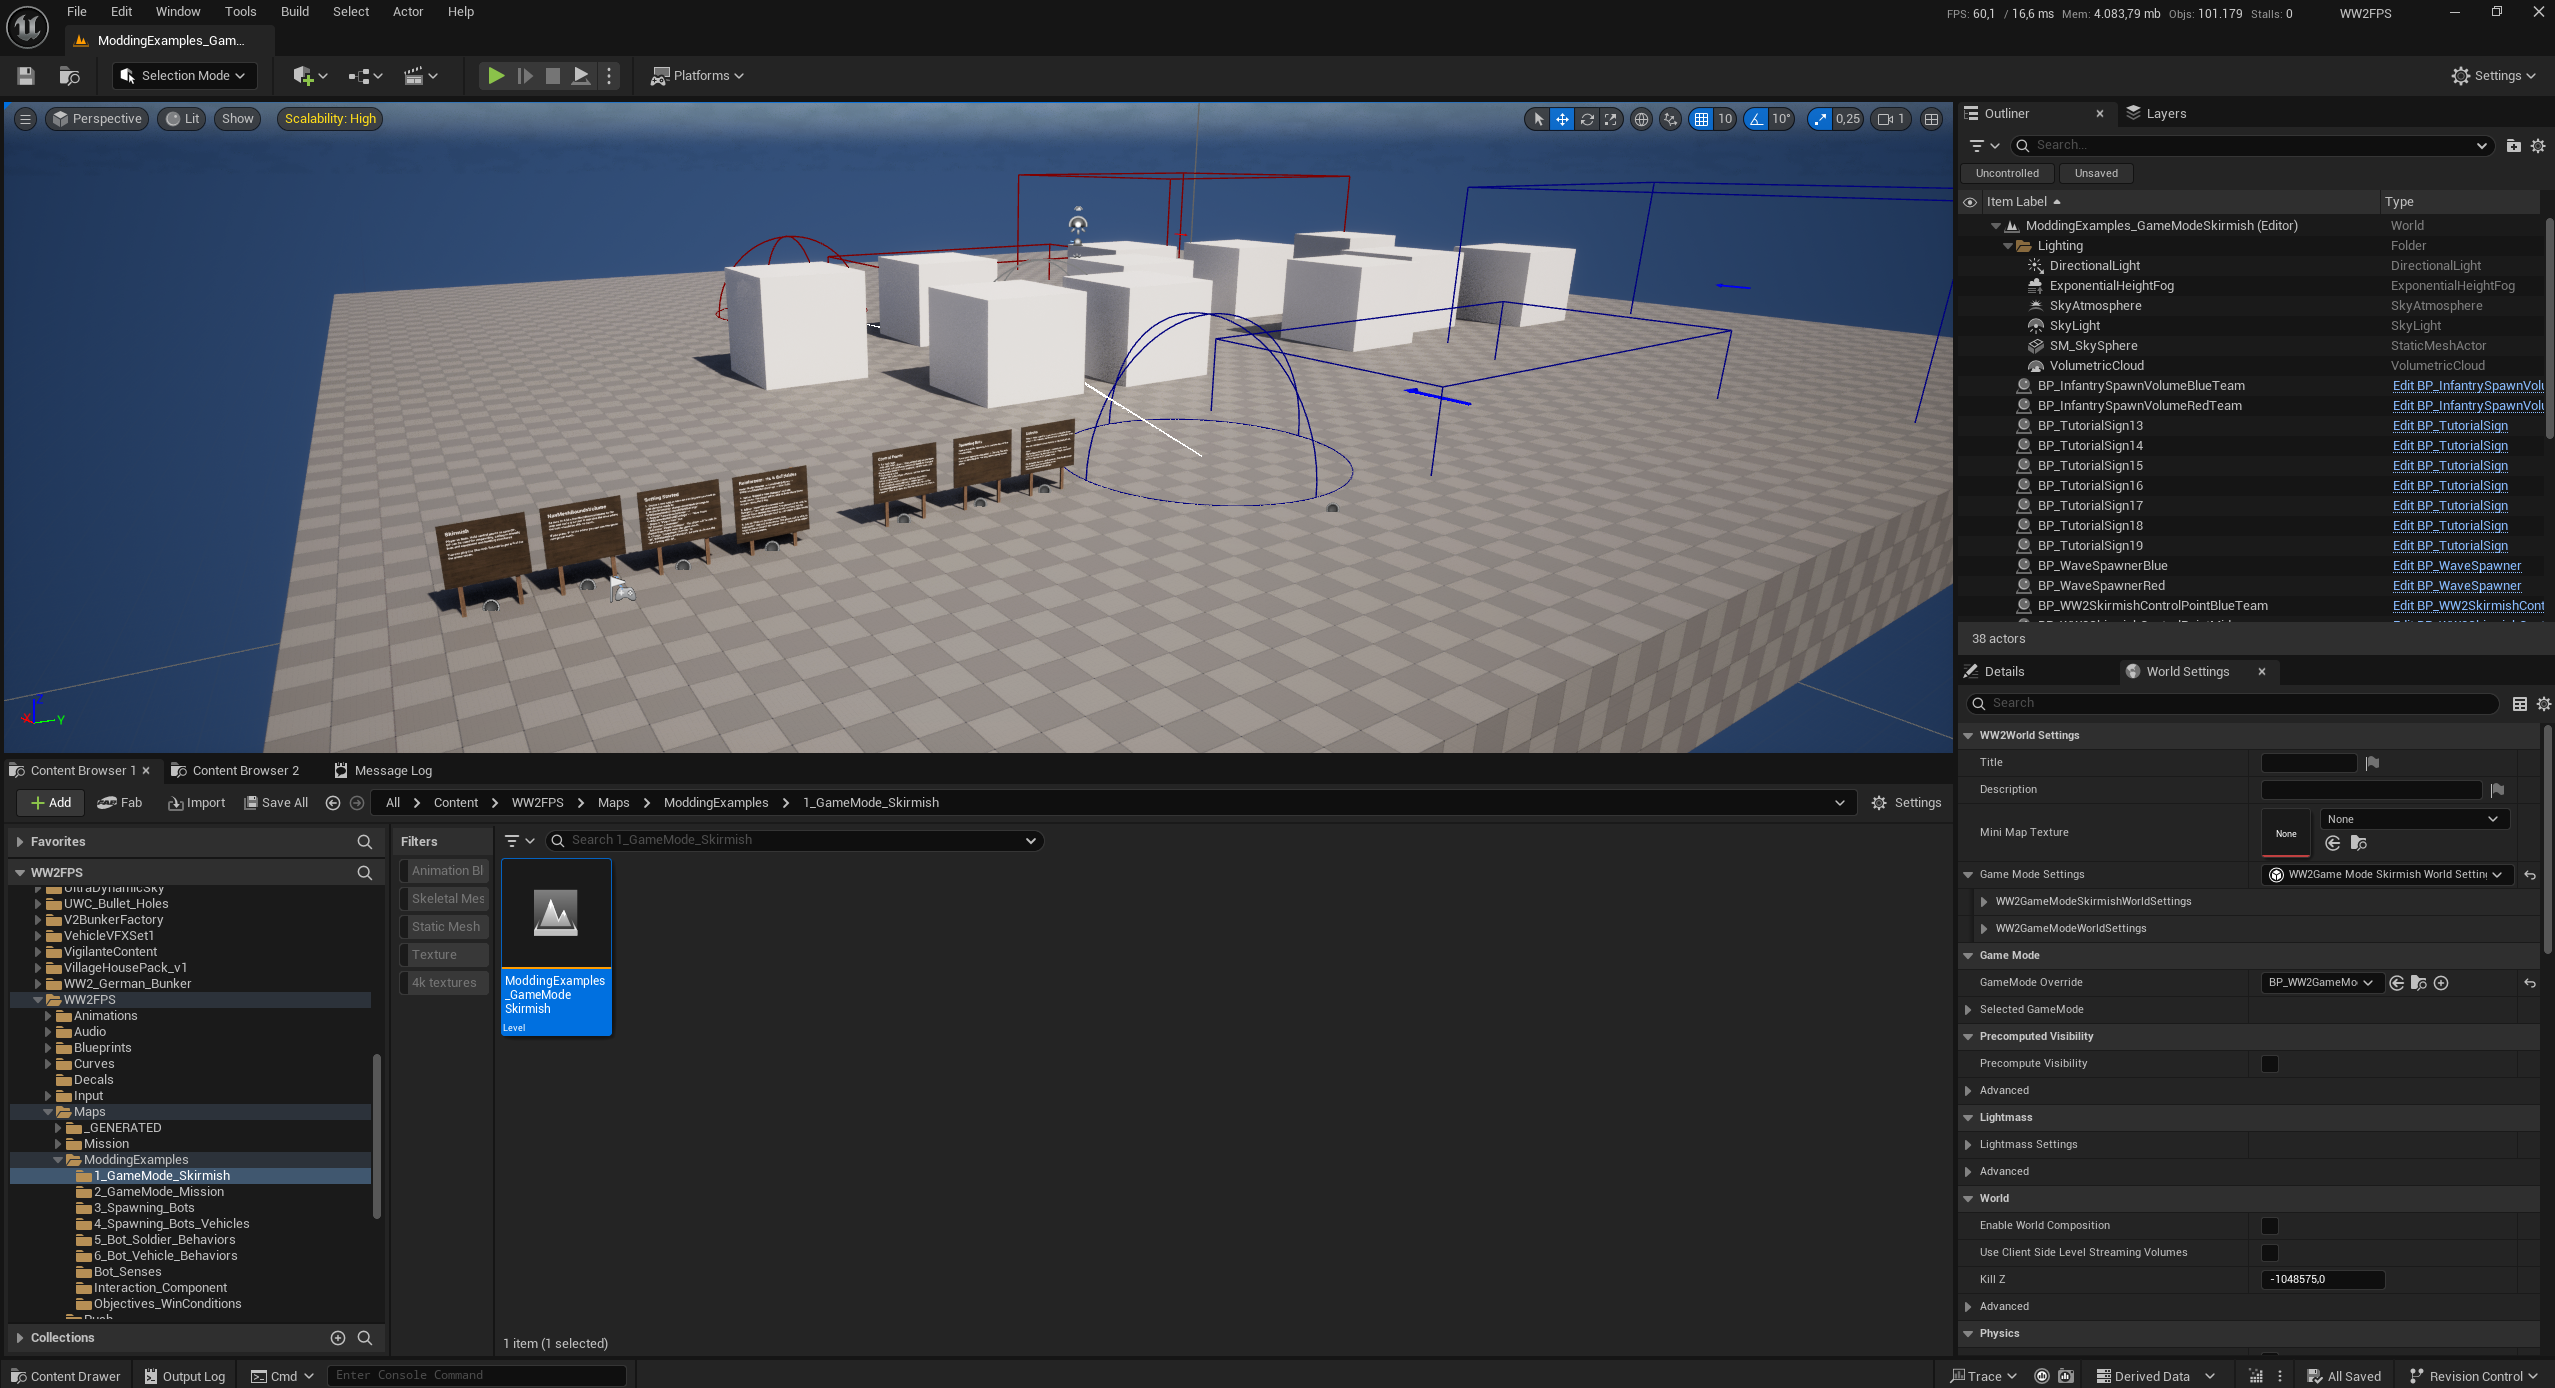
1. In the Content Browser have a look at Content\WW2FPS\Maps\ModdingExamples. It contains example maps explaining different game modes and features.
2. For a quick test copy over the skirmish example map from "Content\WW2FPS\Maps\ModdingExamples\1_GameMode_Skirmish\" to "Plugins\TestMod Content\"
3. Open the map and change it to your liking.
4. Click "Play" to test the map.
To make the mod show up in the main menu
In the content browser:
1. Add a folder called "ModInfo" to your mod folder (All->Plugins->TestMod Content)
2. Add a new DataAsset in the folder of type "WW2ModInfoDataAsset" (Right click->Miscellaneous->Data Asset)
3. Add a new DataAsset of type "WW2GameModeInfoDataAsset"
4. Add a new DataAsset of type "WW2MapInfoDataAsset"
5. In the MapInfoDataAsset add a reference to your map.
6. In the GameModeInfoDataAsset set a name to show in the menu. The actual game mode is set in each map's world settings.
7. Add the MapInfoDataAsset to the "Maps" array.
8. In the ModInfoDataAsset choose a name and add the GameModeInfoDataAsset to the "GameModes" array.
If you are unsure about anything have a look in WW2FPS/ModInfo.
Packaging
1. In the Editor go to Tools->Project Launcher
2. Create a new custom launch profile. Leave everything on default and choose the following options:
- Build
- Do you wish to build? - Do not build
- Cook
- By the book
- Cooked Platforms - Windows
- Release / DLC / Patching Settings
- Release version this is based on. Write "1.0" into the text field.
- Build DLC
- Name of the DLC to build. - Write the name of your plugin folder in the text field e.g. "TestMod". It must match the name exactly or the content won't be found.
- Include engine content
- Advanced Settings
- Store all content in a single file (UnreakPak)
- Don't include editor content in the build
- Cooker build configuration: Shipping
- Package - Package & store locally
- Deploy - Do not deploy
(Have a look at Docs\Modding\LaunchProfile1.png and Docs\Modding\LaunchProfile2.png for an example launch profile)
3. Click "Back" at the top right.
4. Run the new launch profile and find the finished pak under Plugins\TestMod\Saved\StagedBuilds\Windows\Longestfront\Plugins\TestMod\Content\Paks\Windows\TestModLongestfront-Windows.pak
5. Get the matching release version of Longestfront from https://desertfoxdev.itch.io/longestfront.
6. Copy this pak into the matching release version (Longestfront\Content\Mods) (Create the Mods folder if it doesn't exist)
7. Start the game and in the main menu click "Mods". Now you should see your game under "Loaded Mods"
8. Go back to the main menu and choose "Single Player". Now you should see your mod in the dropdown and be able to start a game.
9. Now you can share the pak file with others and they will be able to play your mod :)
Files
Get Longest Front
Longest Front
Realistic WW2 shooter with bots.
| Status | In development |
| Author | DesertFox |
| Genre | Shooter |
| Tags | Co-op, First-Person, FPS, pve, Singleplayer, Unreal Engine, World War II, ww2 |
| Languages | English |
More posts
- Buildable Soldier Improvements and Bugfixes3 days ago
- Buildable Soldiers are back and improved!10 days ago
- Christmas Update: MG-4221 days ago
- Flexible Loadouts!39 days ago
- WW2FPS is now Longest Front47 days ago
- Engine Update & Spawning in Vehicles51 days ago
- Battle of the Seelow Heights!66 days ago
- Fire Teams87 days ago
- More map flexibilitySep 18, 2024

Leave a comment
Log in with itch.io to leave a comment.